

A rookie mechanic that may get fired in t...
The other day, I went to the camp.
I'm looking forward to camping rice, but the other day I ate a kimchi pot!
I tried to confront the extreme cold with the spiciness of kimchi and the heat of the pot, but the wind was too cold and I ran away to Tent immediately ...
Hi, Nabe magistrate scatters in front of the winter general! ! Kick.
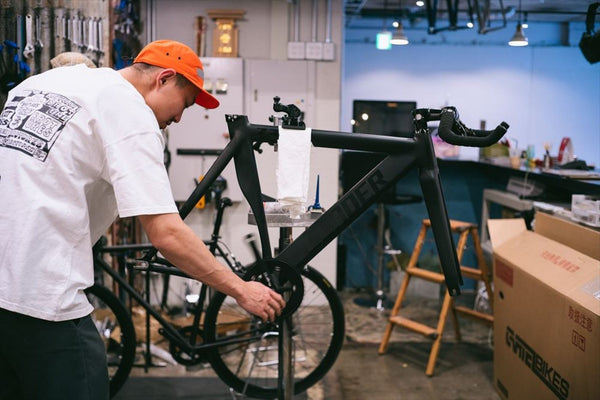
Last time, I wrote about the handle installation and the stem adjustment, so this time I will write a blog about the installation of the brake.
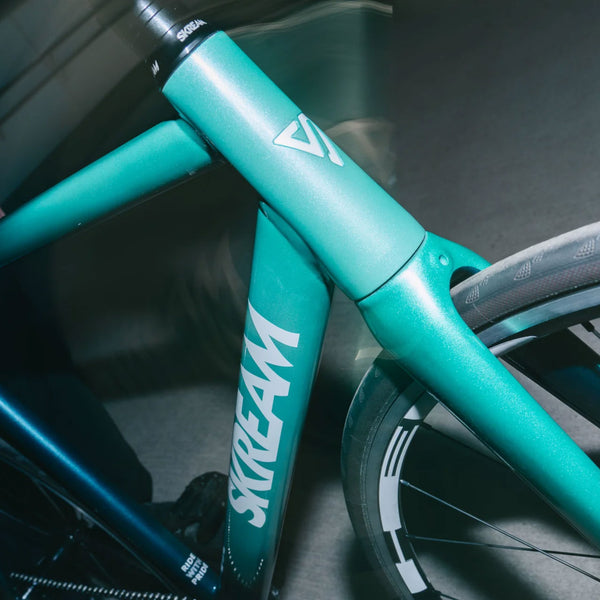
The body is completed this time, and the Kubish series is completed! !
The brake is an indispensable part for running on a public road in Japan, so when delivering the car at BROTURES, the front and rear brakes are installed and delivered!
The parts required for the brake
➀Brake lever
➁Brake caliper (brake itself)
③ Brake wire that conveys power from lever to caliper
It is composed of three parts.
Let's start with the brake!

First, I will attach it from the brake lever.
Attach the brake lever to the left and right from the stem so that the left and right are equal, and adjust the angle to the position where the lever is easy to hold when you have the handle.

[front]

[rear]
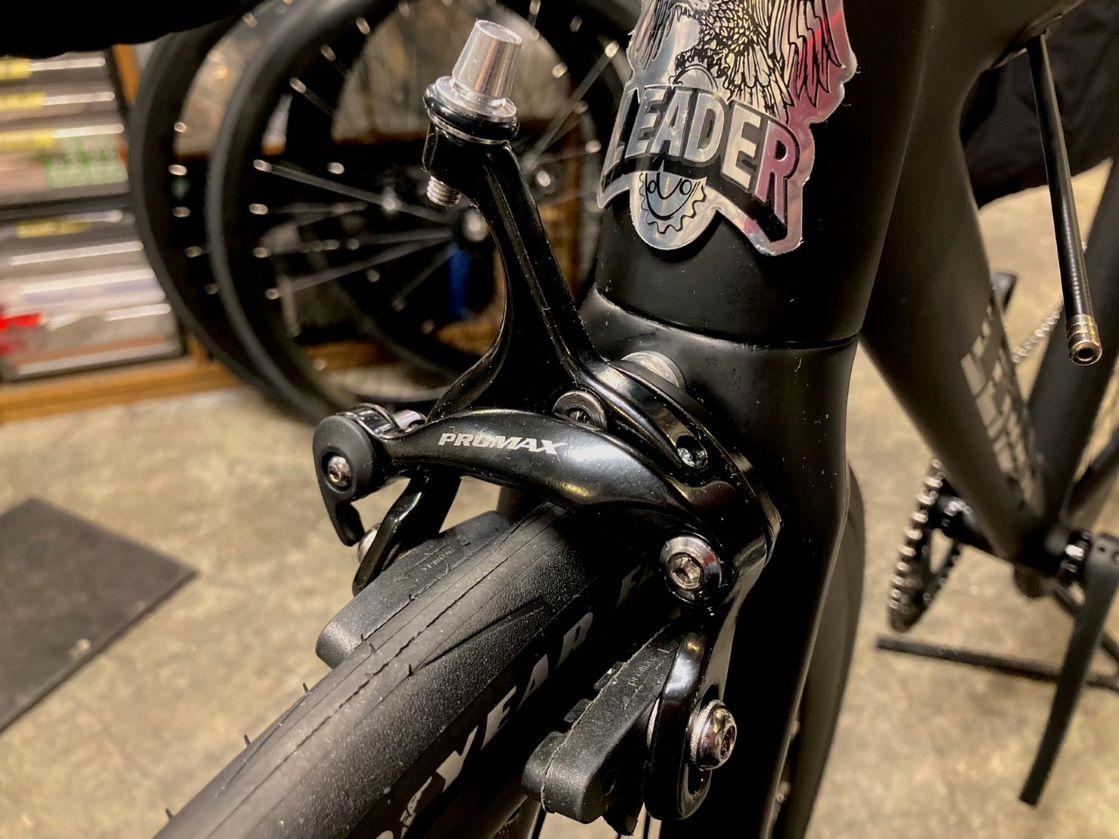
Next, attach the brake caliper.
The long bolt is the front, and the shorter brake caliper for the rear.
When attaching the brake caliper, make sure that the washer is sandwiched between the brake caliper and the frame.
By sandwiching the washer, when tightened, the power will be distributed and the load will be applied to the body!
The brake shoe has a left and right and tendency to install, so if there is an arrow on the brake shoe, check it while installing it.

Finally, attach the brake wire to adjust the brake!
The brake wire determines the length of the brake outer to the vehicle body to make it a reasonable shortest length, and connect the lever and caliper through the inner cable through the outer.
Adjust the position that hits the brake shoe rim while holding the brake lever.
When the brake is firm and the wheel is turned, adjust the caliper center where the brake shoe does not come into contact with the rim.

Once the brake is installed, the brake wire near the top tube is tied with a unity band as a finishing work.
Also, to prevent the tip of the inner cable from being frayed and not injured at the tip of the inner cable.
Attach the inner end of the inner cable from the brake caliper to complete the brake installation.
With the brake attached, you can now run on public roads safely!
Write a blog about the process of assembling the fixie bike seven times, and with the completion of the bicycle, my Kubishita series is over.
From November when I started writing the Kubishi series, I noticed that it was February!
For now, I'm managed to work without being fired!
This is also thanks to everyone who saw the Kubishita series! Thank you for watching for a long time!
Thank you for visiting the Kichijoji store! !
Then.
BROTURES KICHIJOJI
Kick