Thank you for my car. Say goodbye to dirt...

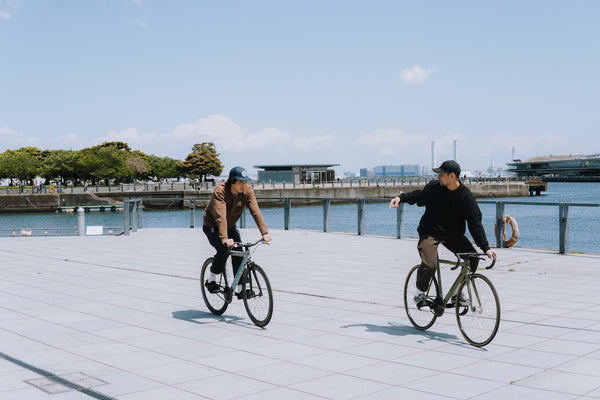
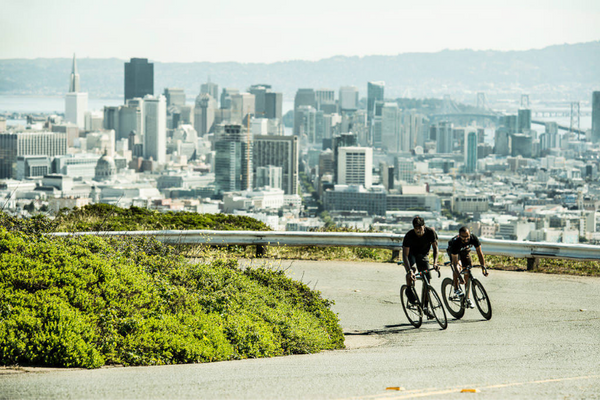
The other day, I went on a group ride to a futsal event hosted by Ono-kun from the Harajuku store!
I was determined to show them what the Kichijoji store was all about, but I couldn't move.
His only performance was one assist, in the first game.
There, we reached the limit of our activities.
Next time I'll try my best to use the AT field as a keeper. Hi, the name is still Kick.
This time, I received a request for an overhaul, so I would like to introduce it to you!
I would appreciate it if you could take a look and compare BEFORE and AFTER.
First of all, if you are wondering "What is the overhaul itself?", click here .
Junki introduces it in detail, so please take a look.
He's looking at me from above, but he's saying really good things. The article is so good that I want to read it aloud, so please do!

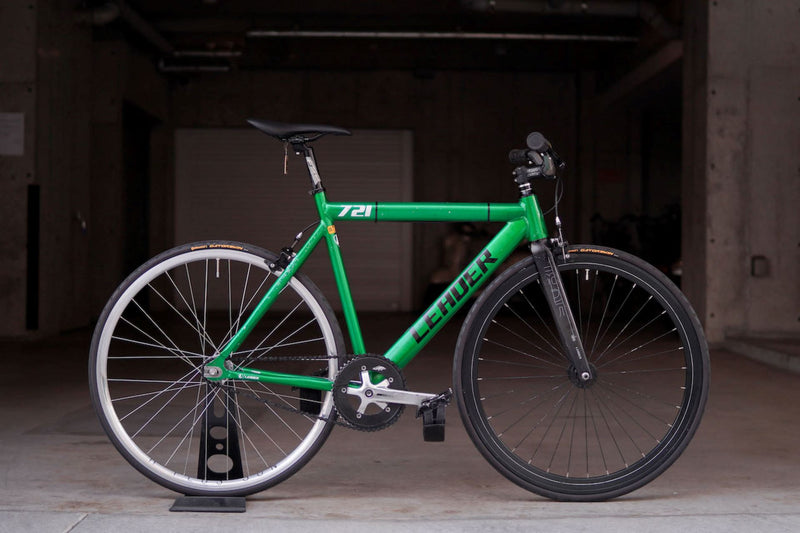
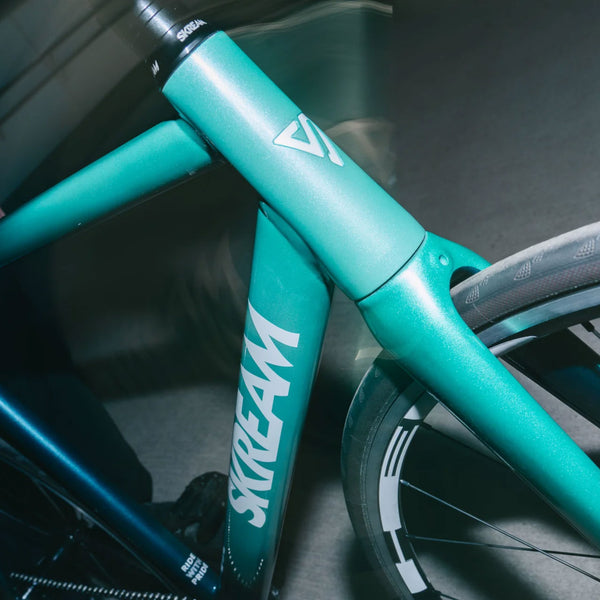
Well, the fixie bike we will be overhauling this time is LEADERⓇ 721TR!
This car body, which I purchased 6-7 years ago, has been customized many times, but this is the first time I've overhauled it!
So, first let's take a look at the details of the car body.


The body of the car, which has been used as a companion for a long time, is quite dirty.
There's a lot of oil buildup especially around the chain...
Rust on the screw parts of the parts is also noticeable.


Next, let's disassemble the BB and head parts, which are rarely opened.
Even if you can't see it from the outside, dirt accumulates on the BB shell and head tube.
The BB and head parts have more than 6 to 7 years worth of dirt gathered on them!

Not only would we be happy, but the bike would be happy if you could ride it for this long.
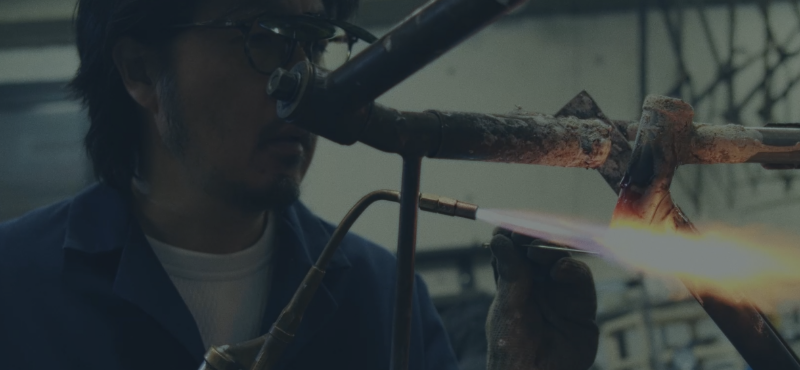
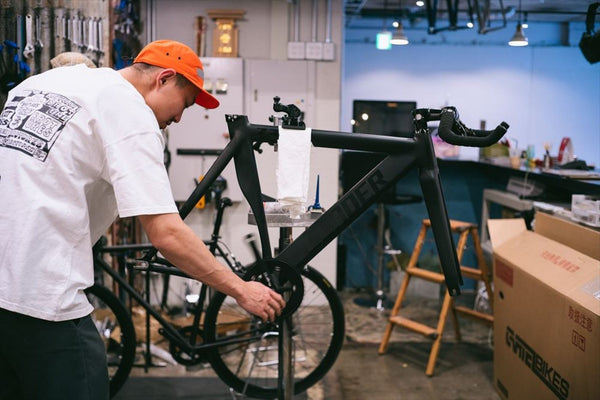
Now, the overhaul begins by disassembling all the parts as a courtesy to my partner!
In addition to removing the parts from the car body, we also disassemble the parts themselves one by one, including screws.

This time, I'll be replacing the damaged LEADER decals, so I'll be removing them.

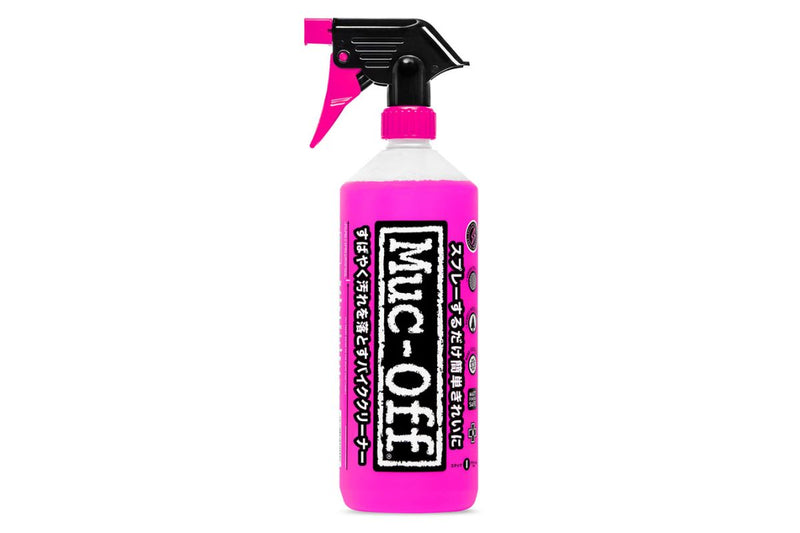
Start by cleaning the frame!
As you can see, we also remove the end plate and thoroughly clean every corner.
Use a bike cleaner to scrub away small dirt with a brush...clean without leaving even a single grain of sand!


Intensive cleaning is also done around the chain, which is the most likely to get dirty.
Since these are the parts that have the most impact on driving, dirt can accumulate.
Not only the chain but also the chainrings will not tolerate even small stains!

We will also scrape off the hardened oil stains that have adhered to the chainring teeth one by one.
No matter how precise the parts you use, if they are contaminated, they will be useless.
Not only does it affect running performance, but it can also lead to abnormal noises around the chain, so be sure to check each part carefully.
This is going to be a little long, so I will divide it into Part 1.
In PART 2, we will continue with cleaning and reassemble to complete the overhaul.
Please look forward to seeing how beautiful it gets from here!
see you.
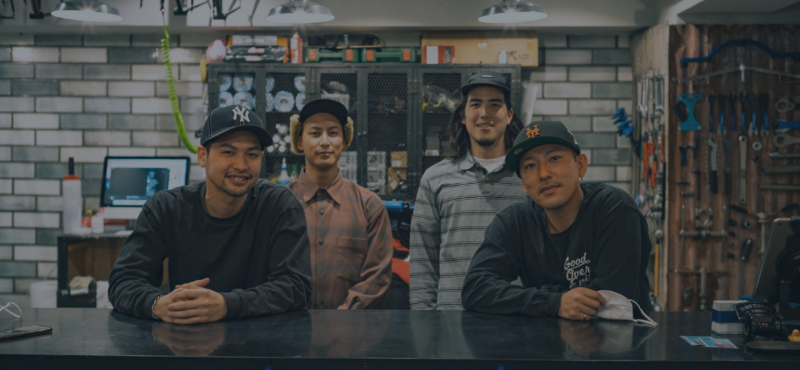
BROTURES KICHIJOJI
Kick